Click for video
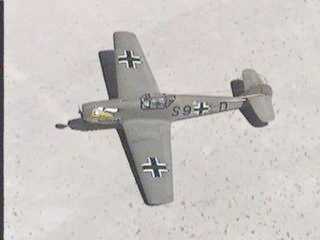
ME-109
4 oz Aileron and elevator control Mini-6 motor
6 cells from a 9 volt battery
Sirius ESC (no additional suppression) Berg RX without case and two HS-50 servos.
Wingspan 25" length 21"
Construction
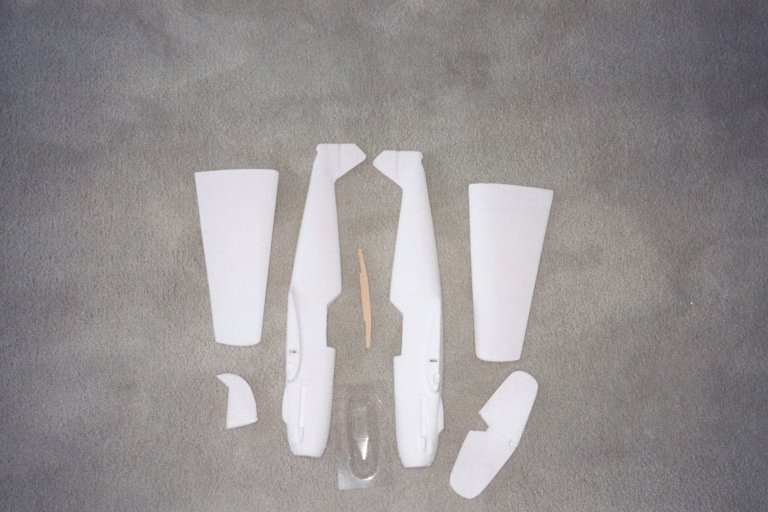 |
This is how the parts look before assembly. Sand lightly to get mold alignment tabs off. Give attention to the leading edge of wing. Paint after assembly by fogging on your favorite paint. Becareful as paints with petroleum ingredients will eat the foam. |
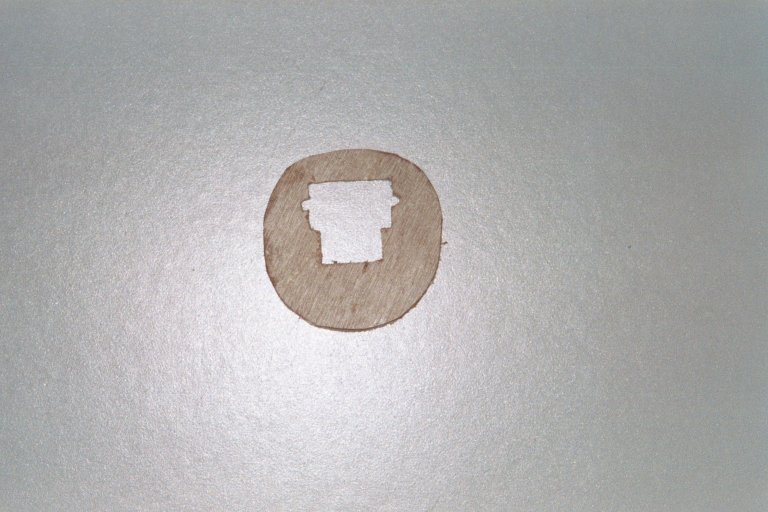 |
Motor mount made of 1/16" balsa laminated to 1/64" ply | 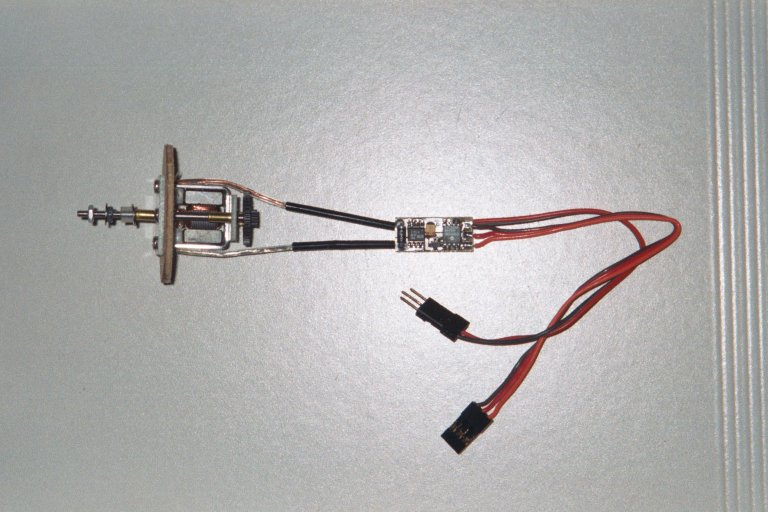 |
Power system
(Heavier and faster uses S280 with 5 x 2 prop) Mini-6 geared motor, |
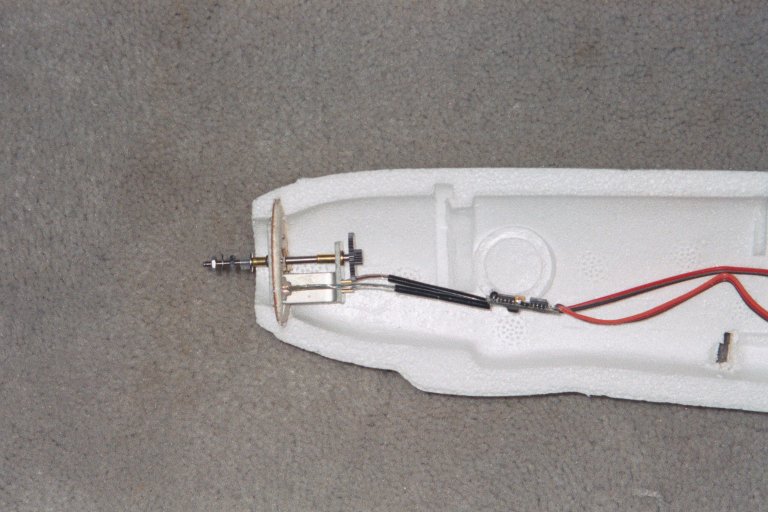 |
Cut notch in nose allowing 1 degree right thrust and 1 degree down thrust | 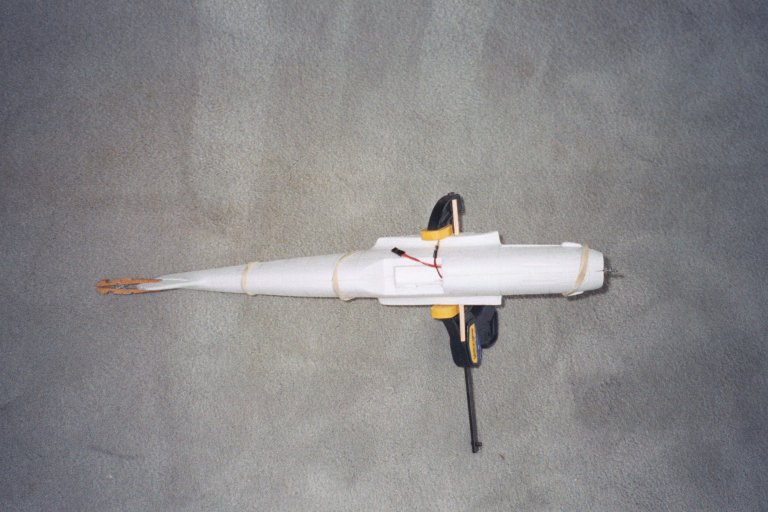 |
Join fuselage halves using epoxy. Several rubber bands or clamps will be needed. |
 |
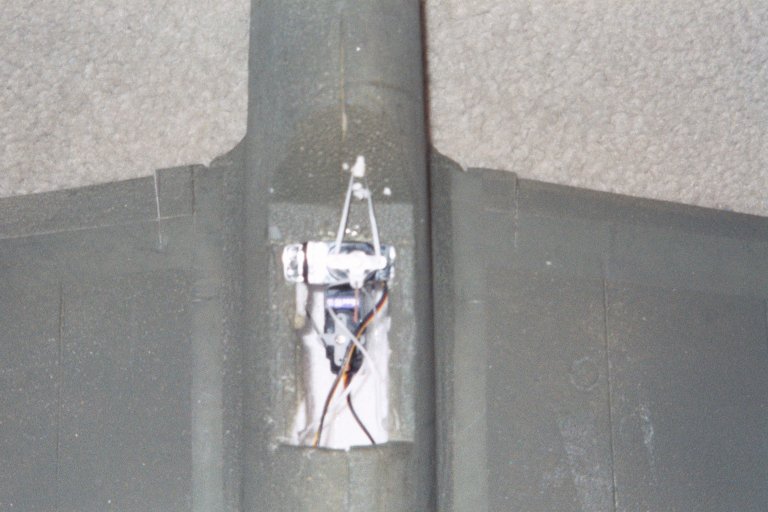
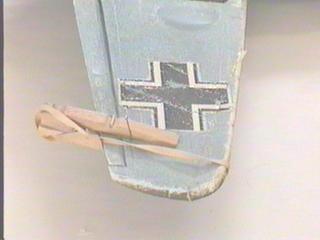
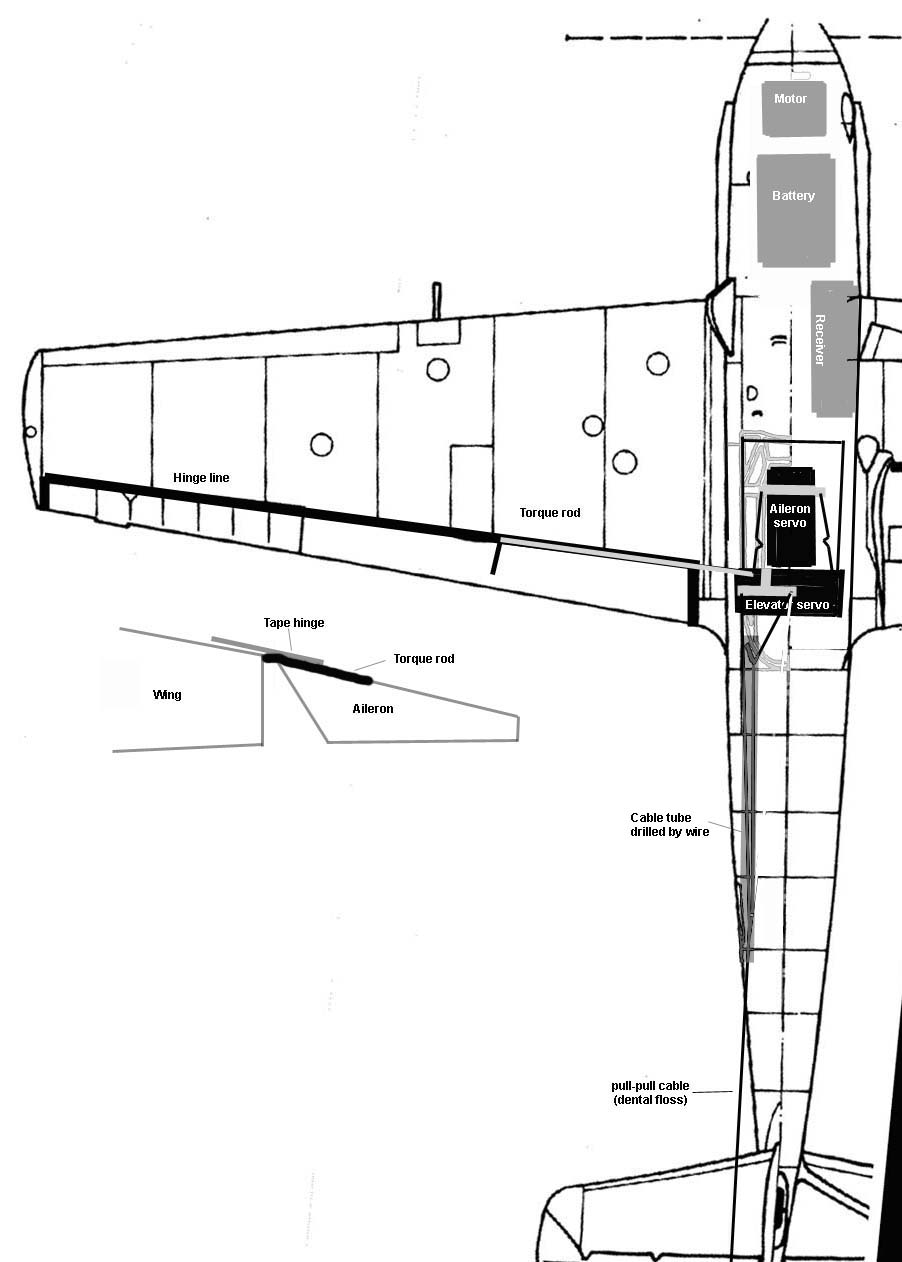
Install spar and 1/16" wire torque rods. Align with aileron hinge line and bend internally. |  |
1/32" wire torque rod/servo connectors using Z bends. 1/64" ply laminated with fiberglass/CA glue. Wrap cloth around 1/16" wire and twist while glue sets to prevent sticking. Slide onto internal torque rods and CA after aligning. GRAPHIC |
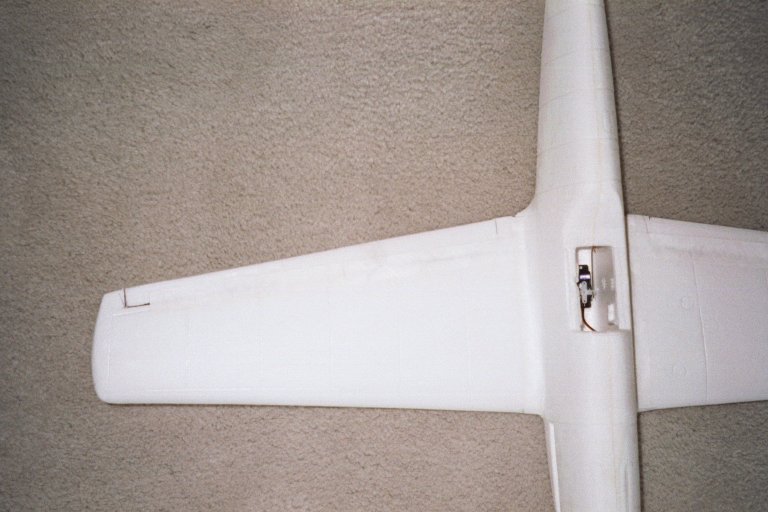 |
Cut ailerons from wings and bevel leading edge 30 degrees. Tape to wing using the self sealing tab from TYVEK envelope | 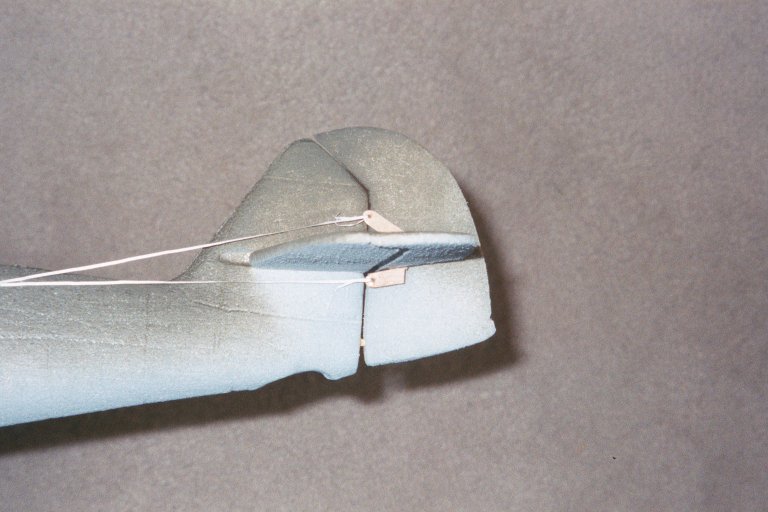 |
Cut and tape elevator like aileron. The hinge line is to the top surface so your control horns are offset.Drill hole for pull-pull lines with 1/16" wire |
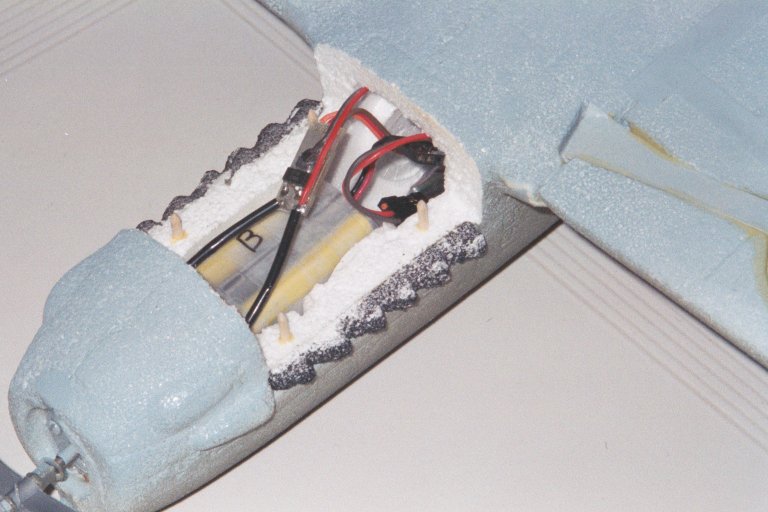 |
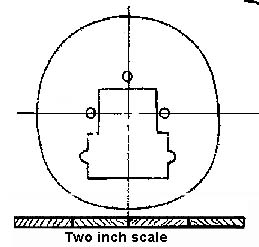
Using razor saw, cut open compartment. Use exhaust pipes as a horizontal guide. | 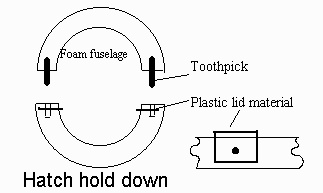 |
Graphic layout |
 |
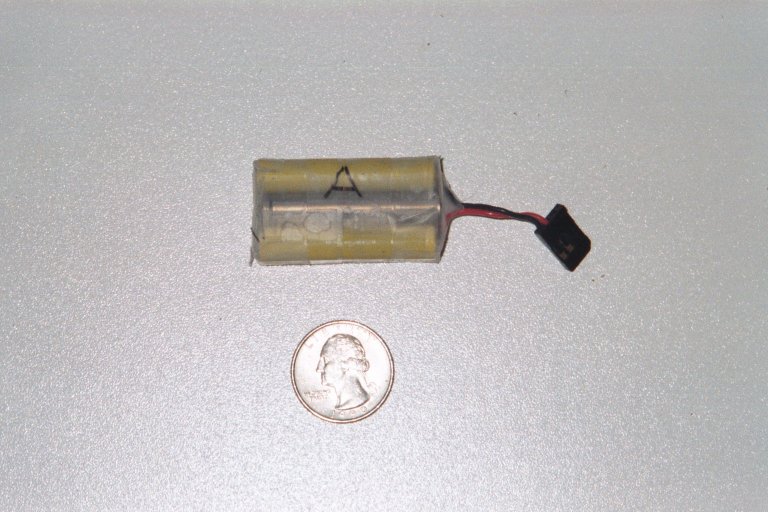 6 120mah cells from 9 volt rechargeable NiCd |
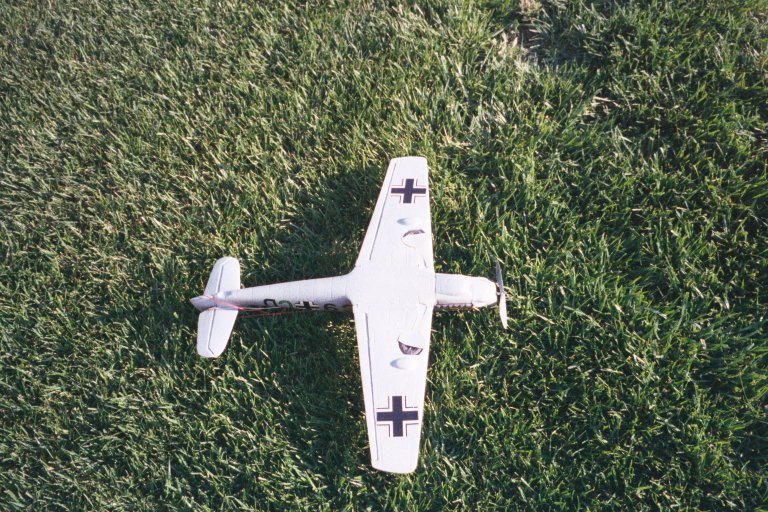 Bottom
 |
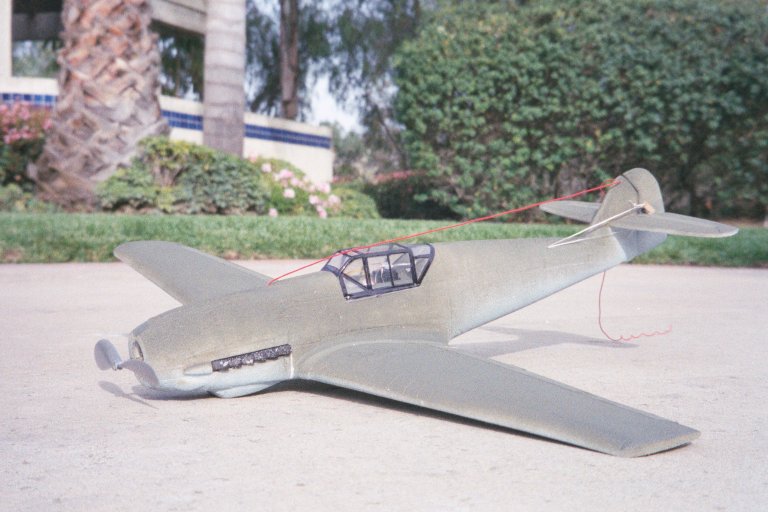 No decals No decals |
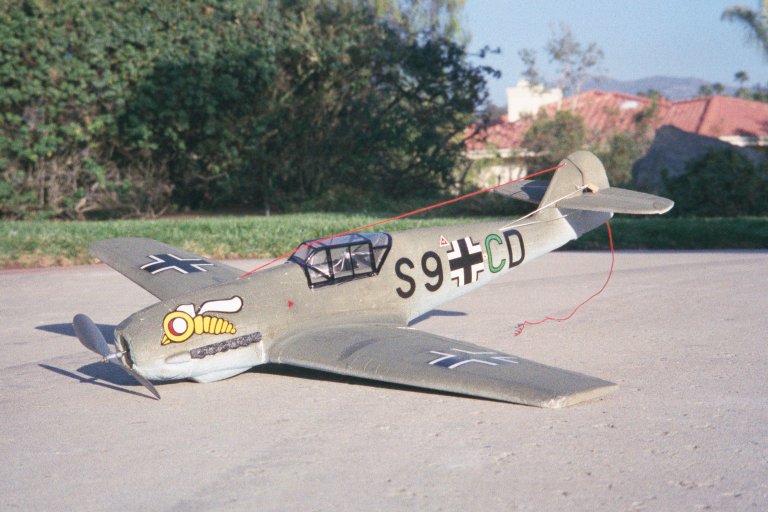 Decals
 |
 |
Tom Hunt's idea to reduce tip stall Slice off about 6" of leading edge (about 20% at tip) at an angle and bevel 15 degrees Clothes pin and rubber band to hold while glue sets. |
|
| Kits available at: | Mini-6 geared motor available from: HiLine PO Box 11558 Goldsboro, NC 27532 (919)778-6653 |
|